Vehicle Animation in Unreal Engine
The aim of this project is to use the control rig feature in Unreal Engine to control a vehicle and animating it.
Final result using Unreal Engine and Davinci resolve.

The first shot shows a vehicle and security robot.
The second shot made use of the Spline tool to create the road system.

The third shot is where we had the vehicle move across the specified path and keyframed in the sequencer.

This shot focuses on the use of Sequencer in Unreal Engine, this is where all the keyframing and animation is done.

After animating, i used the movie render queue to render out all my animations, this method produces a high quality render unlike the custom render system.

After rendering, I make use of Color correction tools like Davinci resolve to bring out the colour in my animation and add other post processing to it.
This is a close up animation of the security from earlier. In this composition, I made the camera start from down to top to unveil the character.
In this animation shot, I allowed the camera move slowly from left to right before zooming into the security robot. This way I was able to focus on the character and the vehicle while also letting the Sun Ray add colour and lighting to the scene.
This animation shot showcased the moving vehicle, navigating through an abandoned town, the camera view follows the vehicle in a cinematic way.
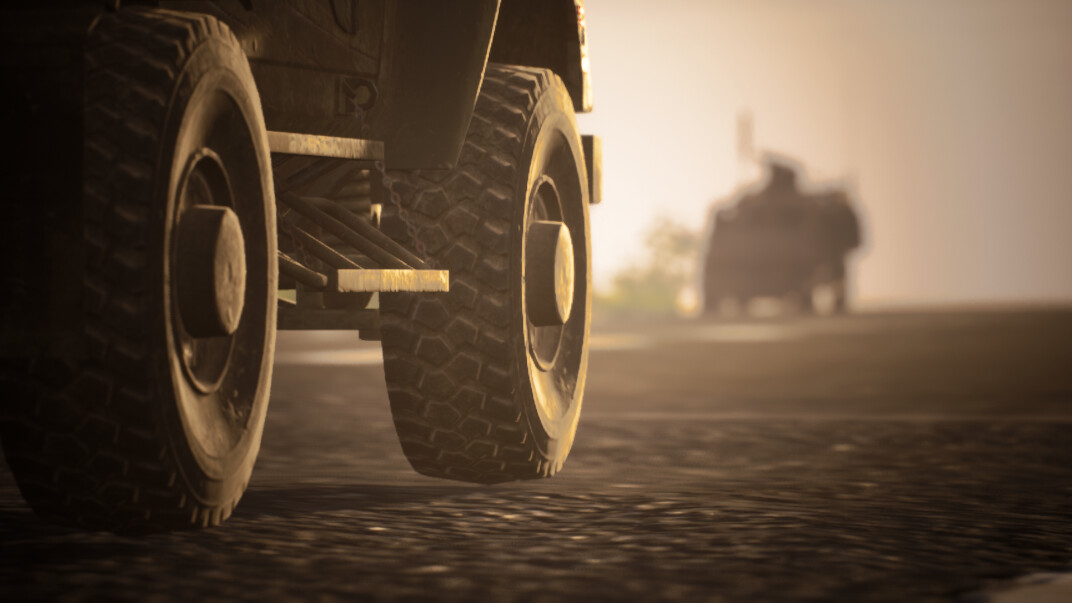
This shot starts from the tires before showing the whole vehicle, this method aims to introduce the vehicle gradually using a down to top camera composition.
This animation shot follows the vehicle and serves as the next cut from the previous animation, I didnt want to have just one camera view of the vehicle, so I broke the shot down into 3 different shots.